

Last month we looked at the process of basic audio editing, either for larger recording tasks or simply editing coursework recordings for submission. The next part of the process is a little more artistic and can massively change the feel of a recording.
The use of editing is a grey area for performance coursework submissions, with basic chopping of the silence at the beginning and end probably OK, but the combination of different takes a definite no-no. However, mixing is much less dubious – any changes in timbre or ambience of the performance are definitely out! But if you're teaching any form of music technology, either at Key Stage 3 or BTEC/A level, or you just want to make a nice recording sound a bit more polished for posterity, then basic mixing can help.
The basics
There are four basic processes that need to be gone through in mixing: dynamics processing, EQ, effects and balancing levels. I often start with the last of these, setting the volumes of my different recordings to roughly where I want them and using that as a template to hone my sound with the rest of the processes.
Dynamics processing
Dynamics processing is the catch-all term for anything that alters the volume of a sound automatically. Common examples of this include gates, compressors and limiters. To make a recording nice and clean, a gate will cut out all the sound once the volume drops below a certain level. This is used to remove hiss or unwanted noise in periods of silence.
A compressor is a little more complex and reduces the volume of the loud peaks of the audio to create a more dynamically even sound. This is particularly useful in large projects because it will even out the volume, meaning a lot fewer volume changes.
Dynamics processing is an acquired skill that took me years to master. If you're not confident with what you're doing, experiment. If it's not working, take it off again. An uncompressed, more dynamic track is much better than a badly processed track!
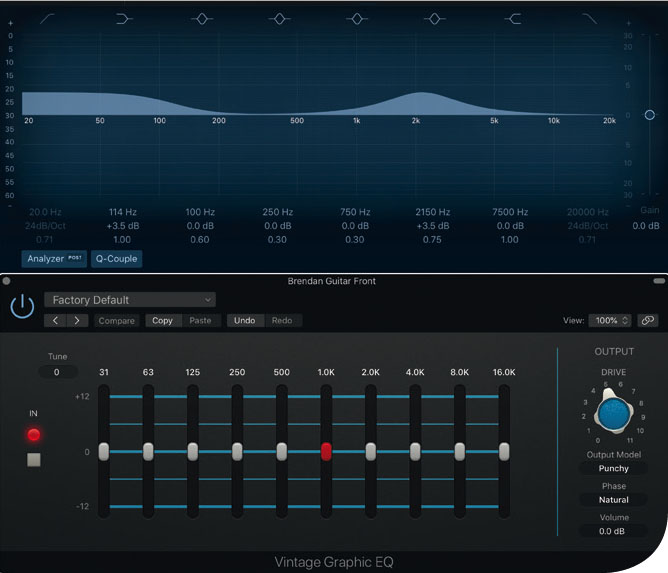
Graphic and parametric EQs
EQ
Short for equalisation, this is the control to change the relative treble and bass frequencies of a sound. Most software will allow a range of controls to edit as deeply as you want. For basic control, use a graphic EQ that has fixed frequencies and bandwidth. Simply push the faders up and down to see which frequencies affect which bit of the sound.
For more control, you can explore the main EQ in your software. This will allow adjustment of all parameters, including exactly which frequency you want to alter, how wide you want the EQ to affect the frequencies either side of your chosen frequency, and how much to boost and cut. This is called parametric EQ, and it is fully adjustable.
Effects
The application of a nice effect makes the difference between a good recording and a great one. An appropriately applied reverb puts all of the sounds in a space, and a short delay on the lead vocal can give it a sense of depth that isn't otherwise available.
Effects can either be applied on the track or to multiple tracks via an aux/bus/send (the name depends on your software or mixer) to allow all the sounds to be set to the same effect. How this works will depend on your software, but the process is normally to route the individual track to the send and then adjust the individual levels on those sends.
The rule of thumb is that ambience effects work best on a send, but there is no reason you can't put anything else on these tracks. Experimentation is the best course of action!
Levels
Although I mentioned that I set the levels at the start, all of the above processes affect the volume of the parts. Therefore, volume adjustment is an ongoing process. I will constantly adjust the relative volumes of the parts every time I make any form of change.
Once you have a rough mix, you can use automation to control changes as the track progresses to boost and cut particular instruments for a section (an instrumental solo in a jazz band for instance) and to turn processes on and off if they are only needed at certain points.
Summary
Trying to explain the mixing process in a short article is nearly impossible – it's complex enough that I've actually written a whole book on it! – but hopefully the above overview will give you some pointers to help get you started. Experiment, read further and discover what different effects do.
This article often refers to parts within a track, but all of these processes will still work on a single recording of an ensemble or solo performance. The techniques are the important bit, not the material on which it is used. If you need any advice, do get in touch via the magazine and I'll endeavour to help. Good luck!


